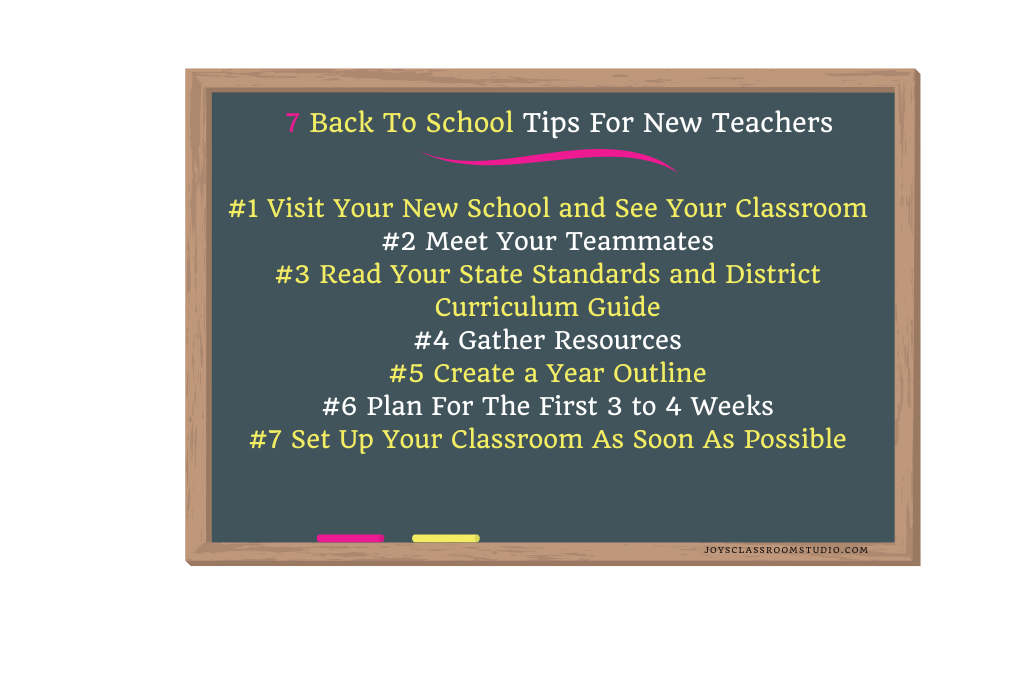
Congratulations! It’s official you’re a new teacher (smile)! You landed that first teaching job and are eager to start! You may feel a little nervous but I’m sure there’s some excitement shining through too. These 7 Back To School Tips For New Teachers are just what you need to help give you a starting point!

I know the workload of a new teacher seems impossible right now. There are many ideas, resources, and programs out there supporting you to be a great teacher. New ideas will also come to you all the time during the school year.
It might be from something you read in a blog post, seen on social media, or gotten from the teacher next door. But you can’t do them all! No one can. Choose what will work for you and implement them in your classroom.
Throughout the school year take notes in a notepad or use an app. Jot down what is working for you and what is not working for you as a new teacher. Stay consistent with what is working! Remember don’t lose sight of what you are focusing on. Too many choices are not helpful at all, quality over quantity is key.
Being a teacher is challenging but it can be very rewarding! I have found success in teaching by staying organized and ahead of the game!
In this blog post, I am writing candidly to new teachers like you about what may be helpful as you start your new teaching career. Many of these 7 Back To School Tips For New Teachers I still do as a veteran teacher each summer in preparation for the following school year.
If you haven’t already, visit your new school and see your classroom if possible. This will help you to begin to start visualizing yourself working there. This will help take away the mystery of the many questions your mind will formulate about your new workplace.
Hopefully, you can visit during the end of the school year so you can get a little idea of the school climate. But also remember if you go at the end of the school year that it is the end of the school year. And things will not be as orderly as they would be at the beginning of the school year. Or maybe you can attend a school event that is happening in the evening.
The advantage of visiting during the end of the school year is you will also be able to meet some staff members. Hopefully, you can meet your new teammates or visit your new classroom. If visiting your new classroom, maybe the current teacher there is retiring or moving grade levels. If so, they may want to give you some items for the classroom they no longer need.
While visiting your new classroom, take pictures, if students are not currently in the room. Take pictures of everything so when you sit down to map out your classroom you will have actual pictures of the space. Make sure you open the cabinets and take pictures of the materials that may be staying in the classroom. This will help you when it’s time to gather resources.
Along with doing this, while you are at the school make sure you pick up one of each of the textbooks, chapter books, or major guides you will be using. Most district curriculum guides are online but if they are not you can see if there are any in your new school. More than likely you will have a new teacher’s orientation but that is usually in August. If you gather these things now you can look them over during the summer.
If you can’t actually go into your new school. At least drive by the school to see what it looks like and where it is located. If you can’t see your classroom early, make sure your administration knows you would like to see it as soon as possible. Ask when would be the earliest you could move your things into your new classroom. Custodial staff do summer cleaning so often times teachers have to wait until that is finished before they can get in to set up for the new school year.

Maybe you have met your teammates during your job interview. But if that is not the case, reach out to them if they have not already reached out to you. More than likely they will contact you to introduce themselves. But again if this doesn’t happen, send them a quick email.
If this is at the end of the school year remember most teachers are not thinking about the start of the new school year. So start off with a brief introduction and ask brief questions. And if it is during the summer, particularly June or July, many teachers don’t regularly check their emails.
Remember, introduce yourself, and ask…
(1) if teaching elementary, if they departmentalize classes in any way. You want to be 100 percent sure of what you will be teaching. Many times elementary teachers unofficially departmentalize to help ease the curriculum workload. If you are teaching middle school or high school it should have been made clear in the interview what subject matter you are teaching.
(2) what are the main textbooks, do they have a bookroom, and if there are any supplemental resources? This is important because many times schools may purchase programs like Flocabulary, Reading A to Z, or Scholastic News in addition to what the district provides. Or schools may have their own book room with read-alouds and chapter books available for teacher use.
(3) Are there any summer professional development you need to attend? This is important because there may be some additional summer professional development opportunities you may be interested in outside of a new teacher orientation.

In my opinion, this is the most important tip! You are a teacher, you were hired to teach. This is your main responsibility. You need to be familiar with your state standards and district curriculum guide before planning any lesson or activity. This is what needs to guide your instruction.
Your state standards can be found online, you are probably familiar with doing this from your student teaching. Your district’s curriculum guide may be found online or they may have actually paper documents. Either way, make sure you get them and read them!
I know it is so tempting to focus on the classroom environment. Especially with all of the cutesy themes that you see on Pinterest and other social media channels. But the reality is you only have so much time!
I remember the summer of my first year teaching, I spent time painting the bookshelves in my classroom in primary colors, red, yellow, and blue. I wanted the environment to be cheerful and welcoming to my students. While I had good intentions of doing this, my time could have been better spent in other areas. I did not know how challenging that year was going to be, and if I did I would have spent more time on curriculum work and not the environment.
In the beginning, your classroom just needs to be a clean, organized, welcoming space. Which can be achieved with minimal effort. Hang up a few bulletin boards but keep them blank. Make sure desks and tables are placed the way you want them to be. Have space for students to put their belongings. Are books neatly placed on the bookcase? And lastly, make sure the room is free of clutter and trash.
And there you have it you are ready! Posters and other decor are extra and can be added throughout the year. Everything doesn’t need to be “ready” for the first day. Besides parents are not concerned with what the theme of the room is, they are concerned with whether or not their child is being educated.
Gather the required resources you are to use in your classroom. Hopefully, you had an opportunity to go into your new school and were able to get a copy of all the needed resources. If you weren’t maybe your district has these available for you to view online. To access online resources you may need your work email and password. If that is not set up yet, you can email the person in your curriculum office. They may be able to give you a guest or training password so you can see the materials. When viewing the resources, make notes about them and how you will use them in your classroom.
Next, see if there are any supplemental resources available to you. Resources you can use but are not required of you to use.
And lastly, my favorite. Think about if there are any resources you would like to use in your classroom. These are resources that are not required or supplemental but will work nicely with your curriculum. These might be resources you borrow from the library, ideas you have seen from social media, or ideas you have yourself that would be beneficial to your students. If it is something that needs to be purchased and it truly fits in well with your district’s curriculum. Ask your administration if there are funds for it to be purchased.
Along with gathering resources make sure you have a copy of the upcoming year’s district and school calendars. You will need this when creating a year outline.

I do Tip #5 creating a year outline every year before the school year begins. It helps me to create my syllabus. I teach 6th grade ELA and am required to have a syllabus ready at the beginning of the year. Making a year outline that aligns with my district’s curriculum guide makes creating the syllabus easier.
It’s important to note when creating this outline that it is tentative. Things come up throughout the year that will change what you have planned. But it is easy to rearrange or cross things off completely once they are written. A year outline also helps to organize the school year for me and keeps me on track. The end result is a page or two that you can refer to often throughout the school year.
To do this you can do it on paper or on a computer. Start with the month that your school year begins. For example, if your school year begins in August you would write as a heading week one and then list the dates. Sometimes I will put week one, three days. That way I can see if it’s a full week or not. A three-day week’s lesson plans are very different than a 5 day week’s plans. Make note of holidays in which there will be no school. Or important school wide events that may cut class time short.
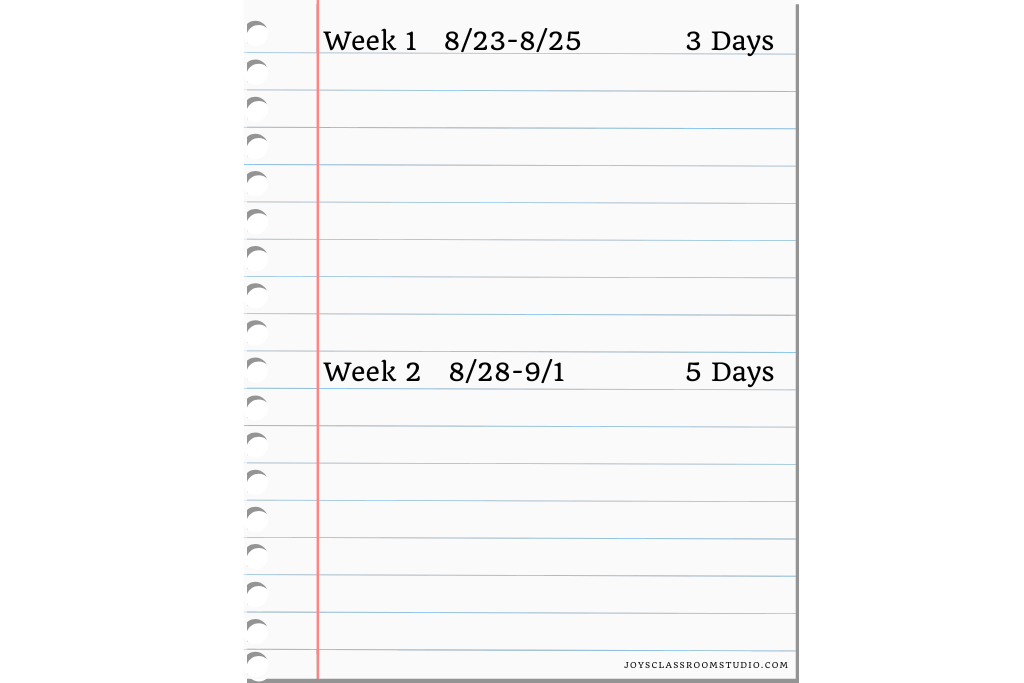
Then I continue on all the way until I get to the final week/day of school. Just write down the weeks, dates, and number of days first.
When you are finished with that, go back into your district’s curriculum guide. Now you can list units and standards you will teach during certain weeks. My district lists the different units and within those units are the standards, resources, and suggested activities. I know districts vary and so curriculum guides will vary. If you don’t have units listed in your curriculum guide. You can just write down the standards you will be teaching within the weeks.
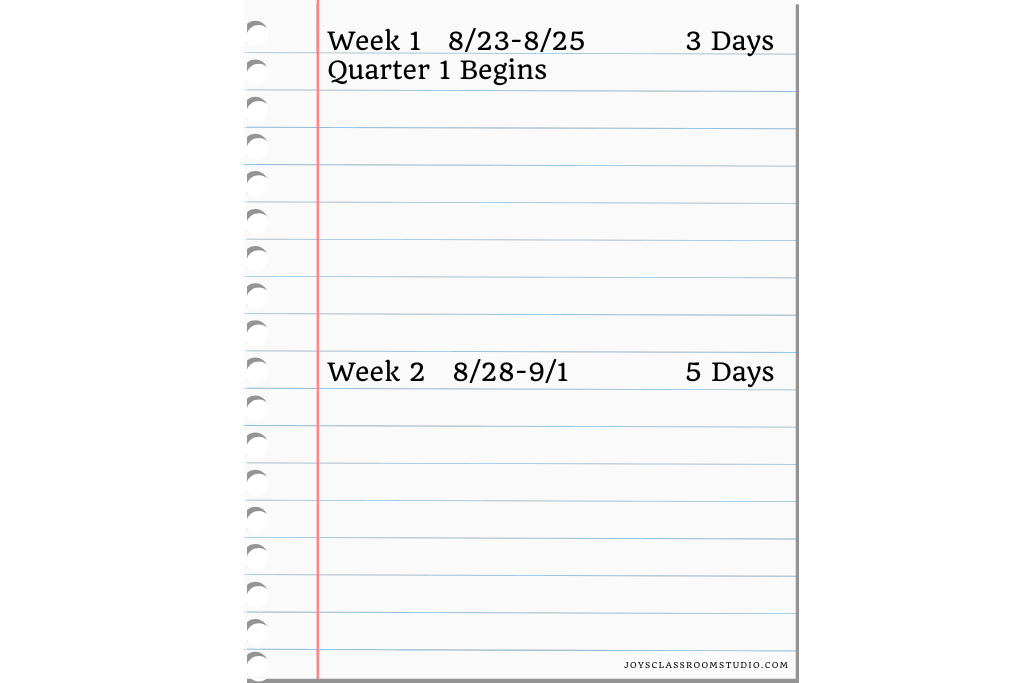
If you want to take things further when organizing this information you can also write in the start and end of grading periods. This will help you to see what standards would be covered each grading period. Which will help you when it’s time to determine what assessments and grade work you will have each quarter.
Now that you have looked over your standards, district curriculum, resources, and created your year outline. You want to begin loosely planning the first three to four weeks of school. This will be a big help in guiding you to stay ahead of planning throughout the year. These plans will be general plans that you add in details later once you know your students and their academic needs.
I have found I need to stay ahead with planning to make teaching more enjoyable for me. This way I am not stressed trying to plan. If I start off with general plans already done it helps me to have enough time to spend on creating quality lesson plans in the future. The key to this is not to over plan, quality not quantity! You don’t want to do too much planning and end up not using what you have. Plus you need to know where your students are academically, their interests, and how they are progressing to have detailed plans for them.
But you can give yourself a great start by doing general plans and identifying what materials you will use in those first weeks of school.
The first week or two weeks of school will focus on the beginning of the year getting to know you type of activities, establishing procedures and routines, and gathering information about where your students are academically. The third and fourth weeks of school will continue to focus on establishing procedures and routines while moving slowly into the curriculum. This is a balance. You want to teach your students the procedures and routines that are expected to make things run smoothly in your classroom. For example, showing them the procedure for getting textbooks off the shelf to use with a lesson. You want to establish the procedure and routines you will use each time while beginning to use the textbooks for learning.
It is important to remember to give your students about three graded assignments during the first four weeks. If your district does interim reports, those will be due soon and you want to have some ideas and evidence to support where your students are academically.
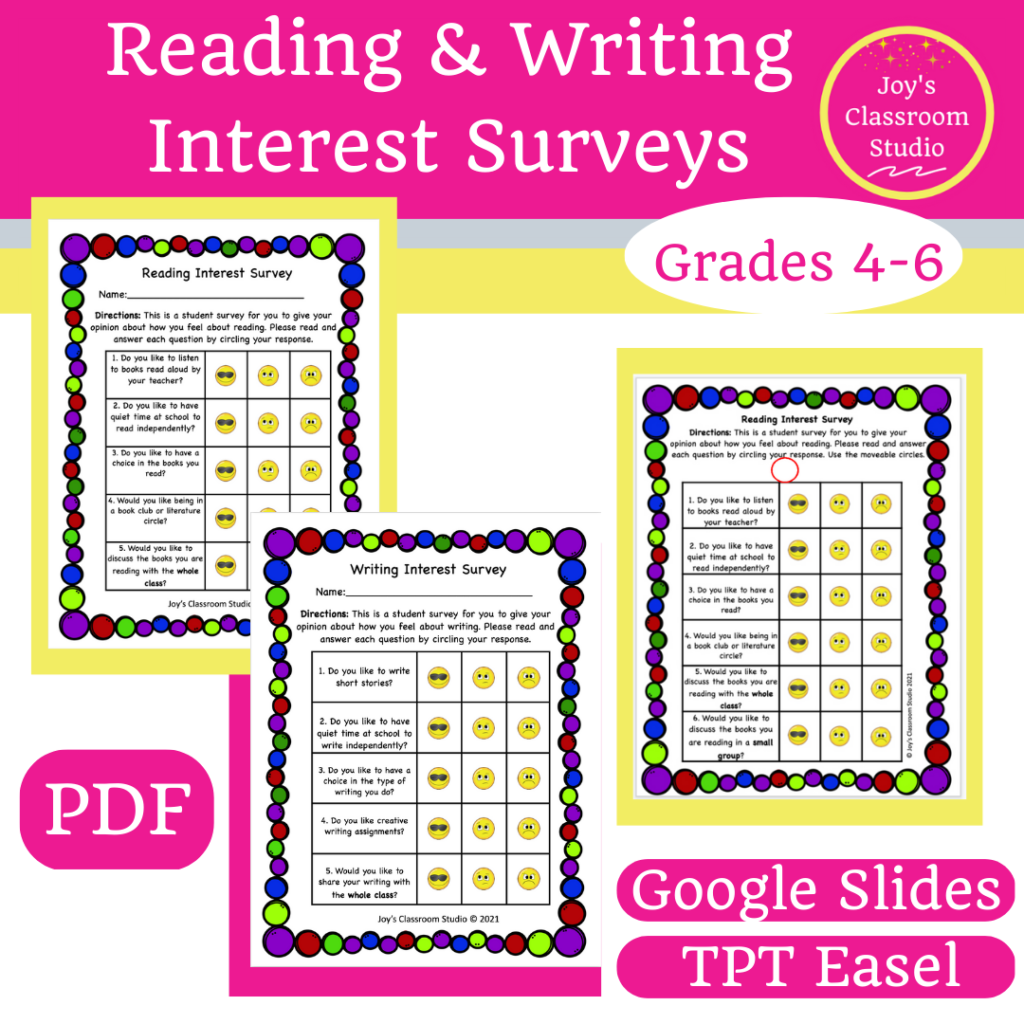
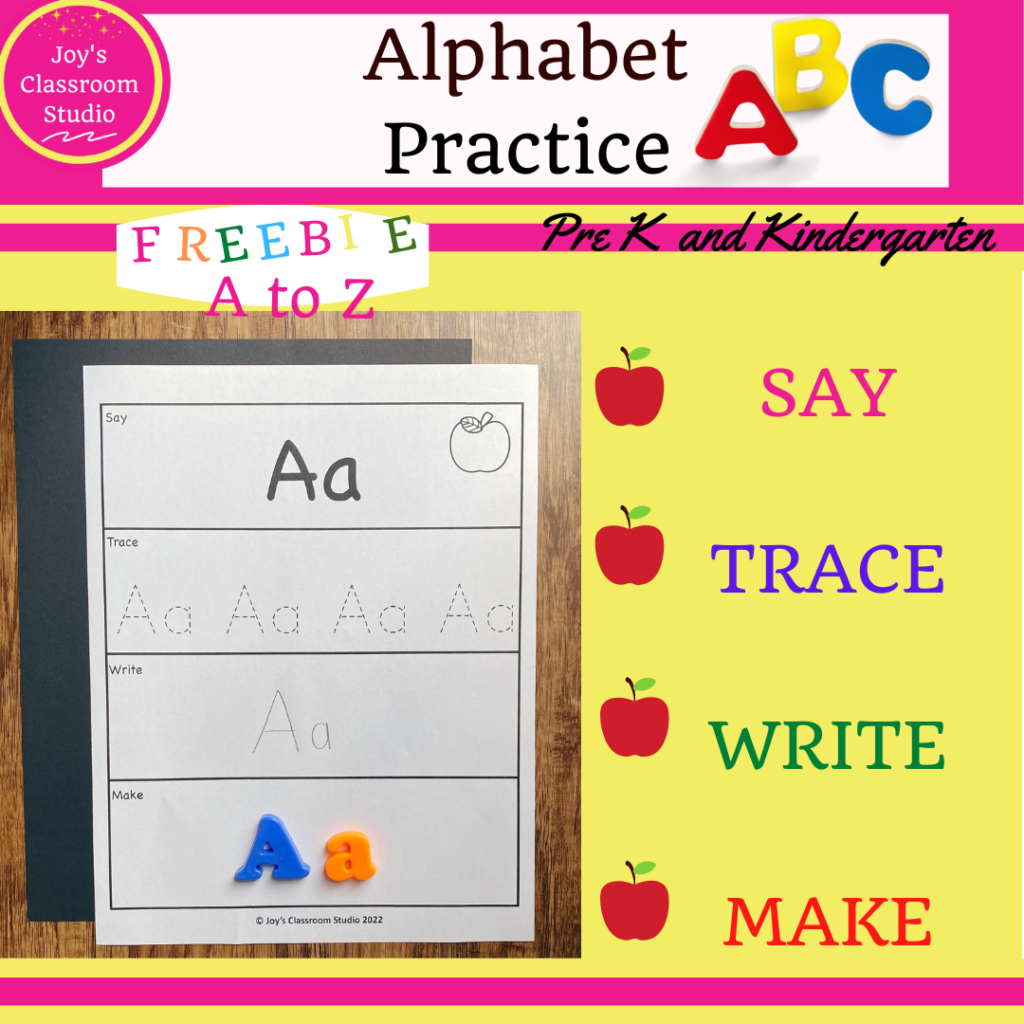
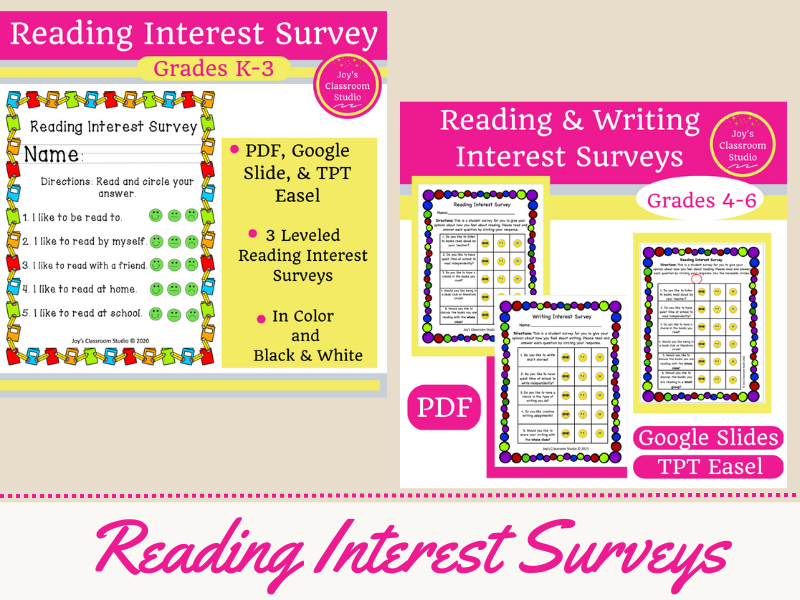
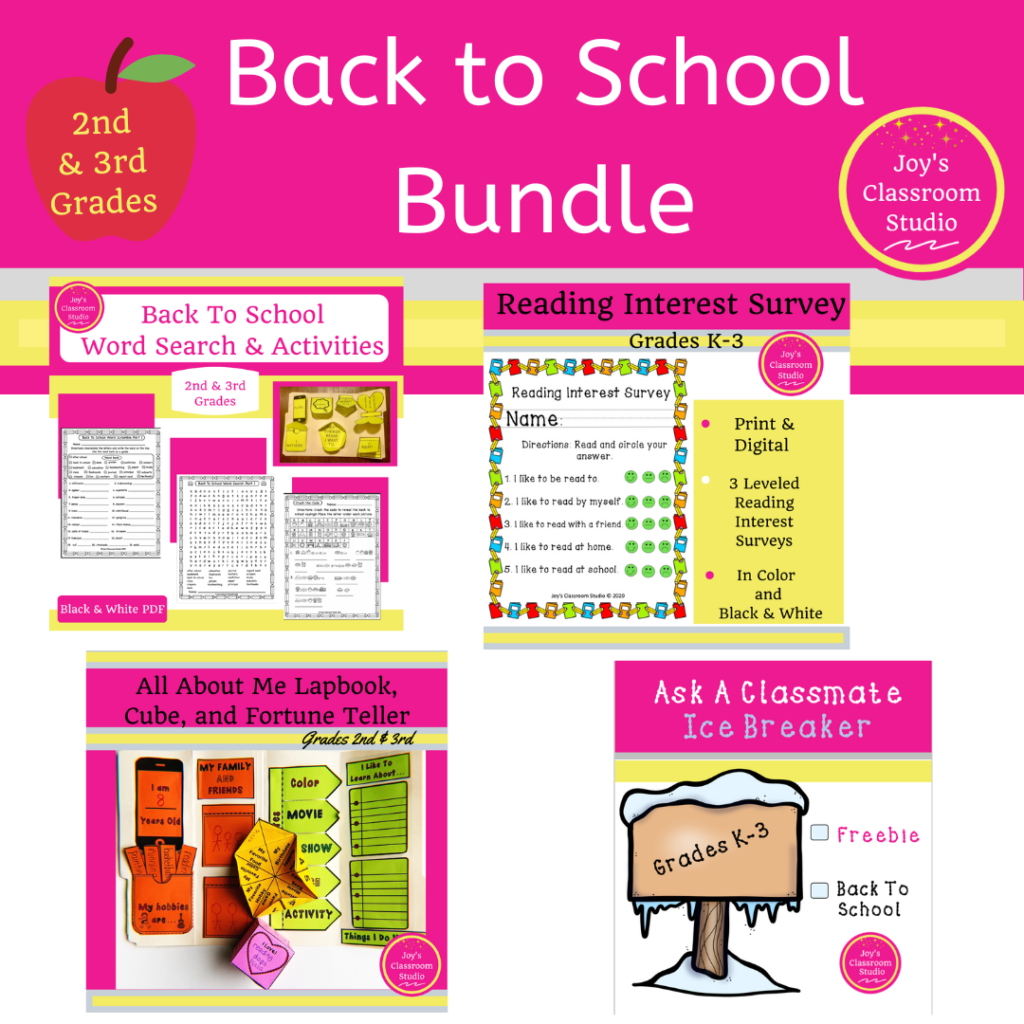
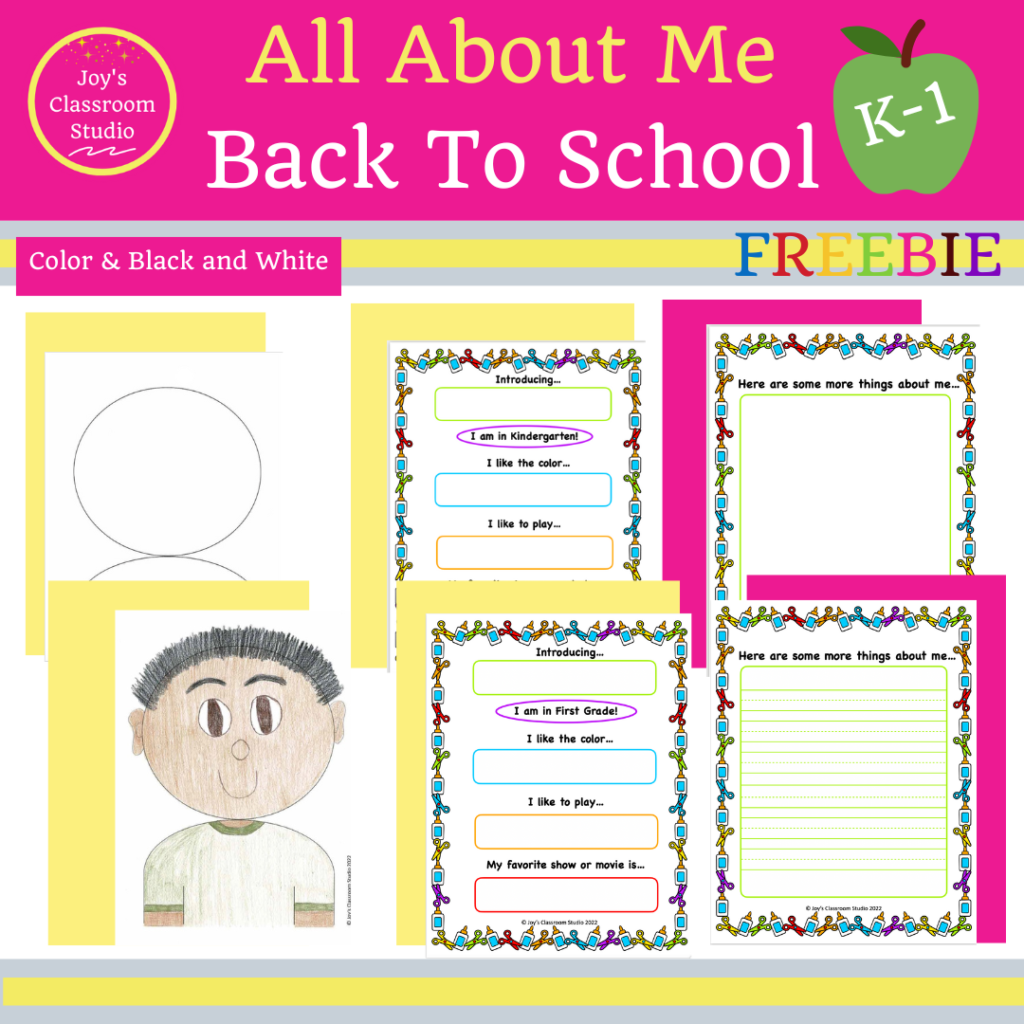
Here are some of my beginning of the year getting to know you type resources in my TPT store…
Here are some of my blog posts that may be helpful for you during the beginning of the school year…
5 Tips For Creating a Caring Community in the Classroom
How a Daily Agenda Can Inspire Your Students To Start Right Away
Effective Parent Communication Can Make A Big Difference!
3 Powerful Ways To Engage Students in Reading Using a Survey
Now that you have a good idea of what you will be teaching. Set up your new classroom as soon as possible. If you were able to visit your new classroom and take pictures. Take those out and loosely map out how you want to arrange your classroom. This will help you save time when you go into the classroom. If you were not able to visit your new classroom beforehand, just take about 10 to 15 minutes when you first arrive to map out where everything will go.
In Tip #1 you asked your administration when would be the earliest you could set up your new classroom. Please move into your classroom as soon as it is ready for you to do so.
If possible you want to give yourself some time to rest before the school year begins. And if you get your classroom set up as early as you can your stress level will go down. After you have set up your new classroom before you head home to get some rest. Make sure you have made all copies for the first two days. If you make copies for the first two days you will thank yourself when the start of the school year begins.
Keep it simple. When you move in you want to organize and put your things in place, get rid of anything that needs to go out, set up your tables or desk, and do your bulletin boards. At the beginning of the year keep things minimal, remember you will have students coming in bringing their stuff. A classroom can get cluttered pretty quickly! If you create a clean and warm and inviting classroom that is enough.
Remember to be proactive when you are preparing to start the school year. Once the school year begins it doesn’t stop and the workload can seem like it’s increasing overnight. But you’ve got this! Keep in mind my 7 Back To School Tips For New Teachers!